For anyone else who couldn't figure out the FBX converter, I found a solution. All of the other forum posts helped get started, so I thought it would only be fair for me to post the solution that worked for me. The following solution is for a rooftop PV system, so you might have to process the finished file differently than I do, but most should be the same.
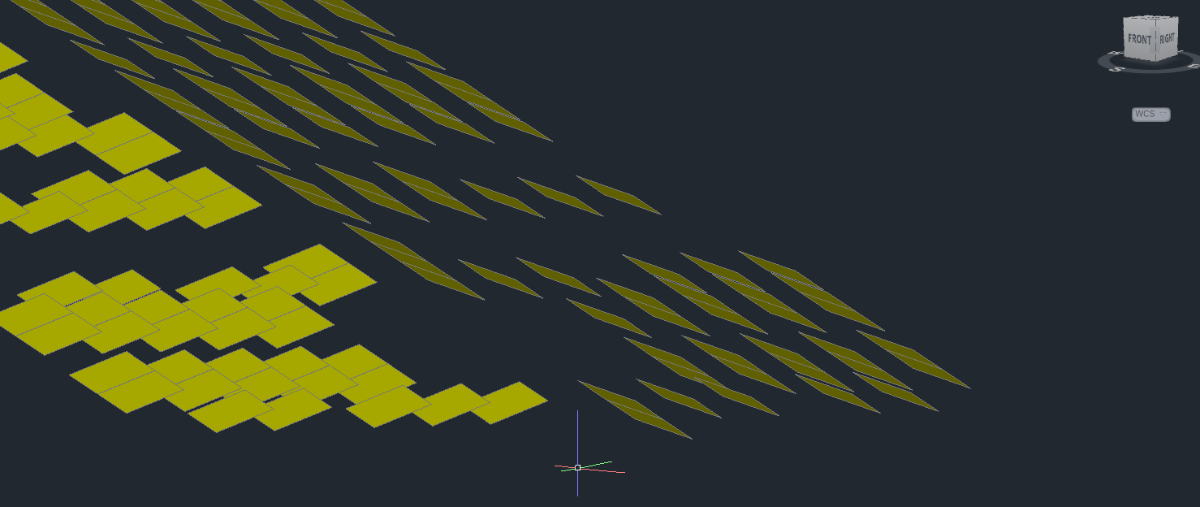
1. Create your .DWG file as explained above. Don't forget after you create your 3D faces, delete all other 2D lines. This will help later when you import to PVsyst. Leave only 3D faces. Should look something like this:
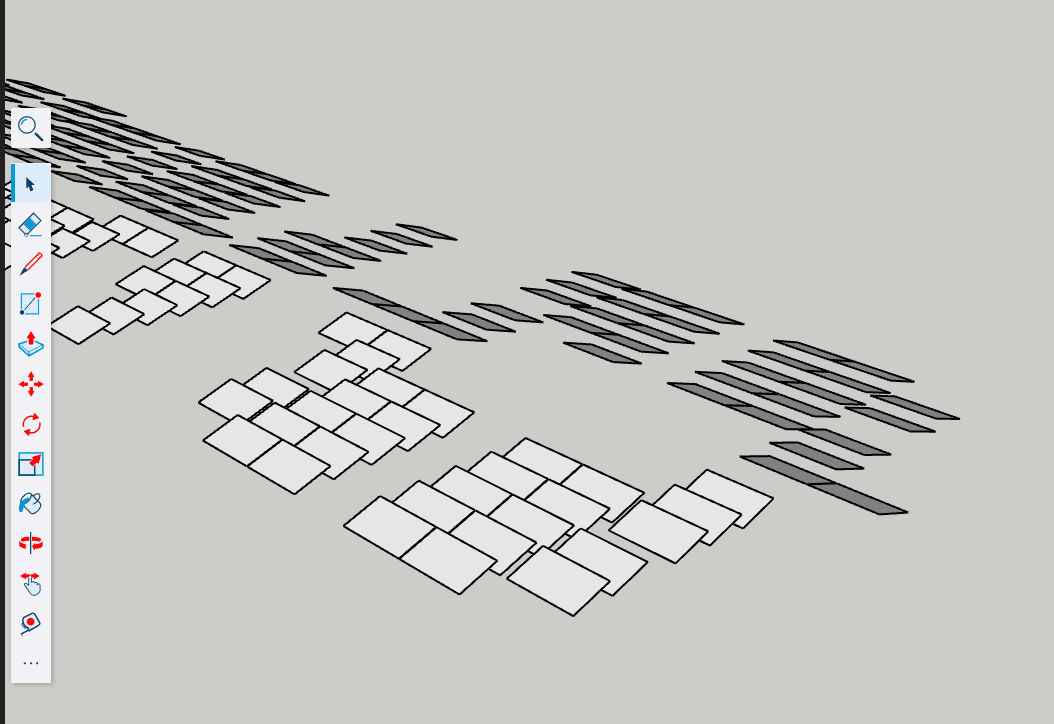
2. Use SketchUp to convert .DWG to .DAE file. You can use the web-based version of SketchUp here: https://app.sketchup.com/app. You can also download the app, whichever is your preference. You can use the free trial if you only need it for one project, but you'll have to purchase the subscription after that. It's not that expensive. Import your .DWG or .DXF file to SketchUp with the correct units. Use the measure tool to verify module edge lengths. Finally, export your SketchUp scene to 3DS or Collada (.3DS or .DAE). PVsyst will accept either. I usually do Collada .DAE.
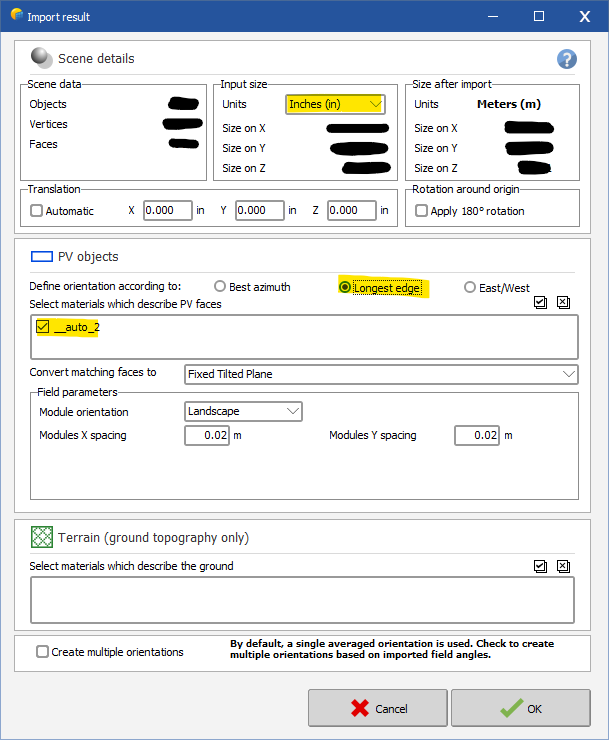
3. Import to PVsyst. Open a new 3D shading scene in your project file -> File -> Import -> Import a 3D scene. Select your SketchUp file (.3DS or .DAE). Select the right units under Input Size. Under PV objects, I usually check off "longest edge", and make sure you select the materials to describe the PV face (should be something like "auto_1". Do not touch anything in the terrain section, as it will make your objects import as a building object, not PV faces.
4. Once imported, you will need to move things around a little in PVsyst. My usual process is as follows. I import a ground image, and start creating my building objects that my PV faces will be on. After I create the buildings in PVsyst, I rotate and move the imported modules to fit on the buildings I created. (Tip: Raise the modules higher than the building on the Z axis, change the point of view to XY, then you can fit the modules pretty accurately on the building.) The most important part is to auto-set the height of the modules. Select the modules -> edit -> set auto altitude -> click set auto altitude on the right toolbar, and the modules will stick right onto the rooftop. This saved me so much time.
Hopefully, this explanation helps someone out. Let me know if you have a question on this method.